Editing additions PP#26
I'm almost done editing my short film as a whole, and I'm super excited to show it off! Another thing I'd love to talk about in this post is some of the new stuff I explored when making this short film, and a lot of the new editing ideas and concepts that I decided to do this time around, that I wasn't fully aware of when working on past other projects. Now while my way of doing these new ideas is still pretty primitive, they are generally newer and more challenging for me, so being able to properly integrate them into the final film is awesome. Let's have a look.
Loading Screen!
One of the things that I did that was pretty challenging was this loading screen, which was like a moving graphic.
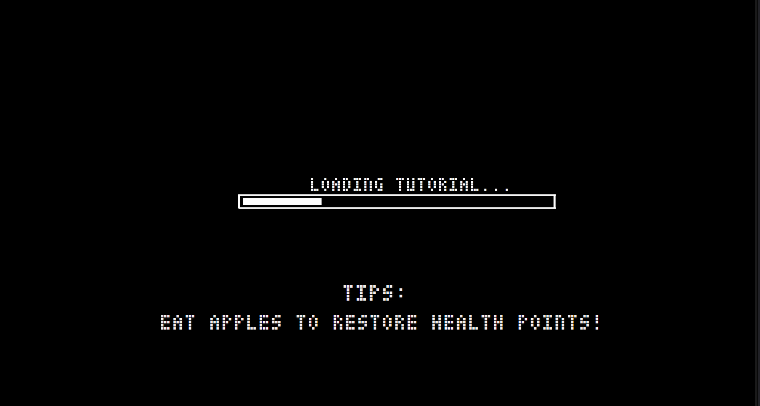
This one was super tricky, and I really wanted to nail it down since it would've been such a cool part of my project, so I strapped in, and did it mainly the only way I thought I could. There are probably easier ways of doing it, but here's my way :D

The mess you see above is the timeline that I made in order to get the loading screen to work. I essentially took a png of a white bar, and made a box out of them which is the loading screen box seen above. After that, I took that same png bar and place it in the middle of that box, making sure it would fill up the loading bar when completed. After that I cropped out the bar in the middle, and would allow the bar to get uncropped, giving the illusion of a loading screen.

You can see here that the cropping portion of the effects video tab has a little dial next to it, I think its called da keynote. I would key note that the bar becomes uncropped, making it out as if the bar is loading!
Blood on the lenses!
Another really cool effect that I wanted to implement, but had no fucking clue how to do was blood on the lenses, like in video games in movies. 


Here are a couple of them, and after I brought them into Davinci, I ave them an opaque brown, reddish color, similar to the blood seen in the video. After I did this, I would apply a Gaussian blur to them which is essentially the blur present when something is outta focus. Next up would be to time these effects and make them line up when needed, like when David would sway his head after getting hit, and the final product looks pretty neat.
-Noa
Take this YouTube thumbnail for example, where the blood like splatters on the screen. I went ahead and tried using this video, but I have Davinci :/
So I tried by myself!
The first thing I did was scoured the internet and needed some good-looking blood splatters that weren't too cartoonish but looked really goofy enough. After some looking around a came across a couple and imported them into my timeline.


Here are a couple of them, and after I brought them into Davinci, I ave them an opaque brown, reddish color, similar to the blood seen in the video. After I did this, I would apply a Gaussian blur to them which is essentially the blur present when something is outta focus. Next up would be to time these effects and make them line up when needed, like when David would sway his head after getting hit, and the final product looks pretty neat.


Comments
Post a Comment